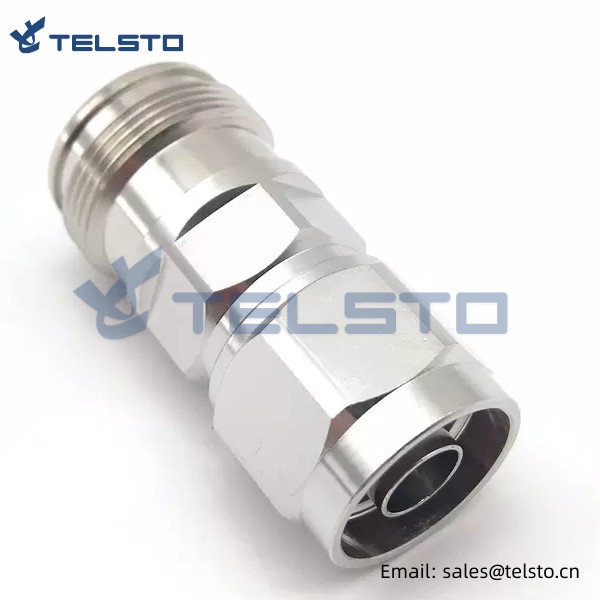
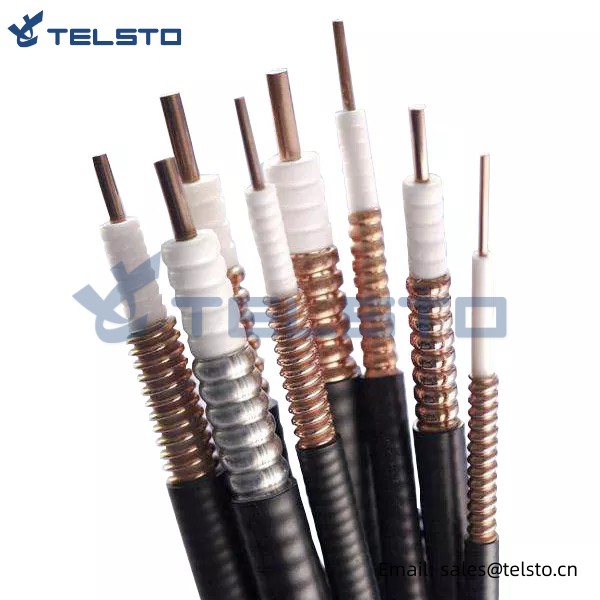
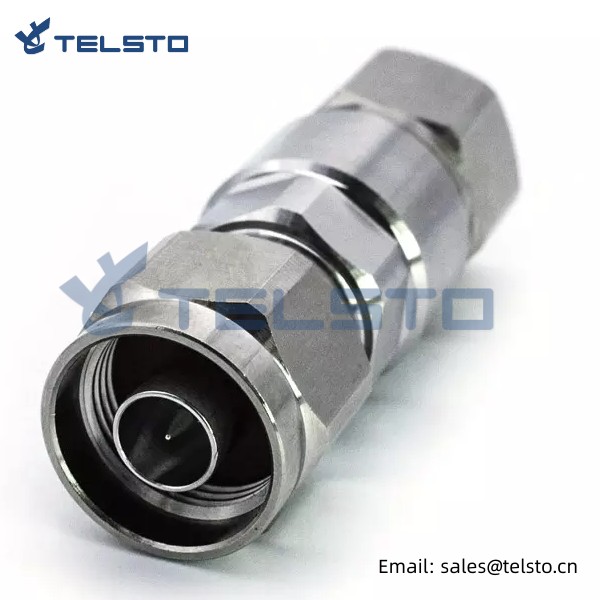
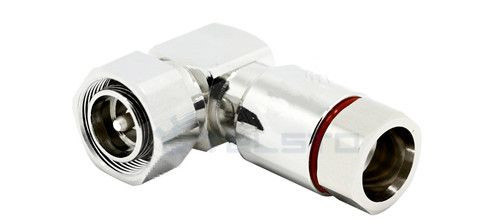
Factory price RF connector 4.3/10 Male right angle clamp type connector, for 1/2″ super flex feeder cable
1. These characteristics are typical but may not apply to all connectors.
2. OEM and ODM are available.
| 4.3-10 Male/Female connector for 1/2" flexible RF cable | TEL-4310M/F.12-RFC |
| 4.3-10 Male/Female connector for 1/2" Super flexible RF cable | TEL-4310M/F.12S-RFC |
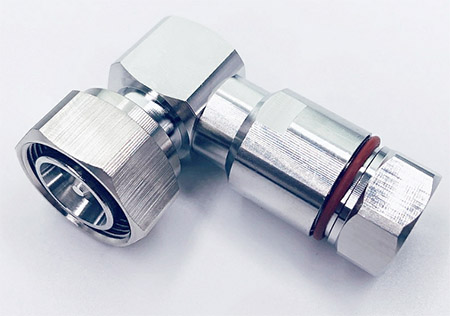
| 4.3-10 Male/Female Right Angle connector for 1/2" flexible RF cable | TEL-4310M/FA.12-RFC |
| 4.3-10 Male/Female Right Angle connector for 1/2" Super flexible RF cable | TEL-4310M/FA.12S-RFC |
| 4.3-10 Male/Female connector for 3/8" Super flexible RF cable | TEL-4310M/F.38S-RFC |
| 4.1-9.5 Mini DIN Male connector for 3/8" superflex cable | TEL-4195-3/8S-RFC |
| 4.3-10 Male/Female connector for 7/8" flexible RF cable | TEL-4310M/F.78-RFC |
| 4.3-10 Male connector for 1/4"Superflexible Cable | TEL-4310M.14S-RFC |
| 4.3-10 Male connector for LMR400 cable | TEL-4310M.LMR400-RFC |
Related
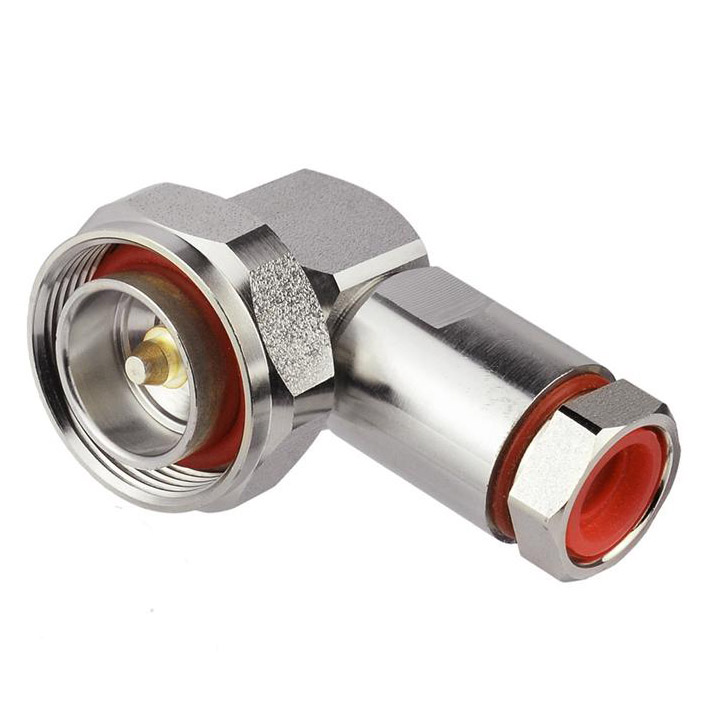
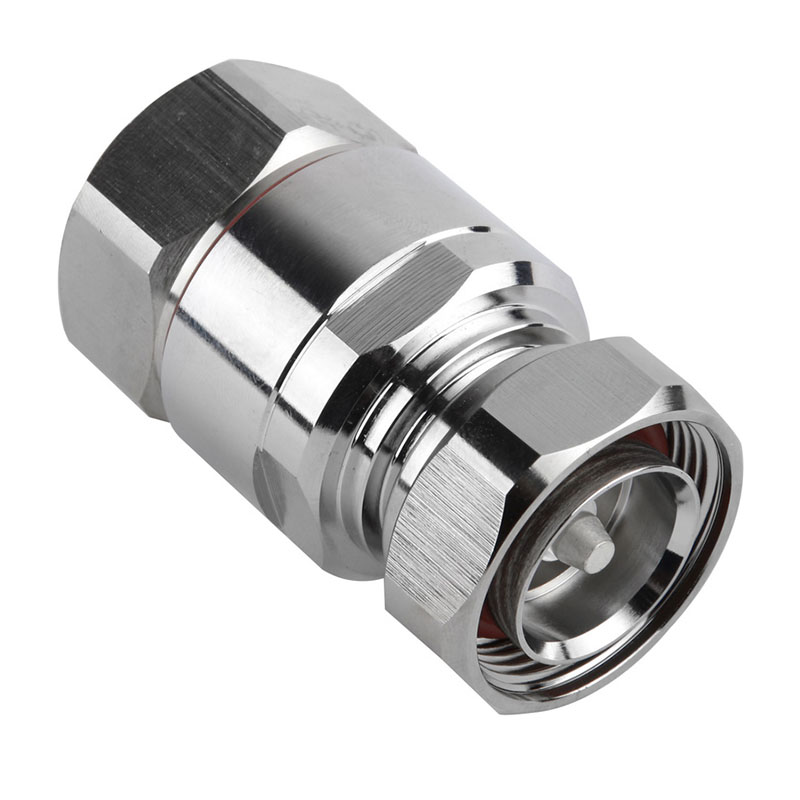
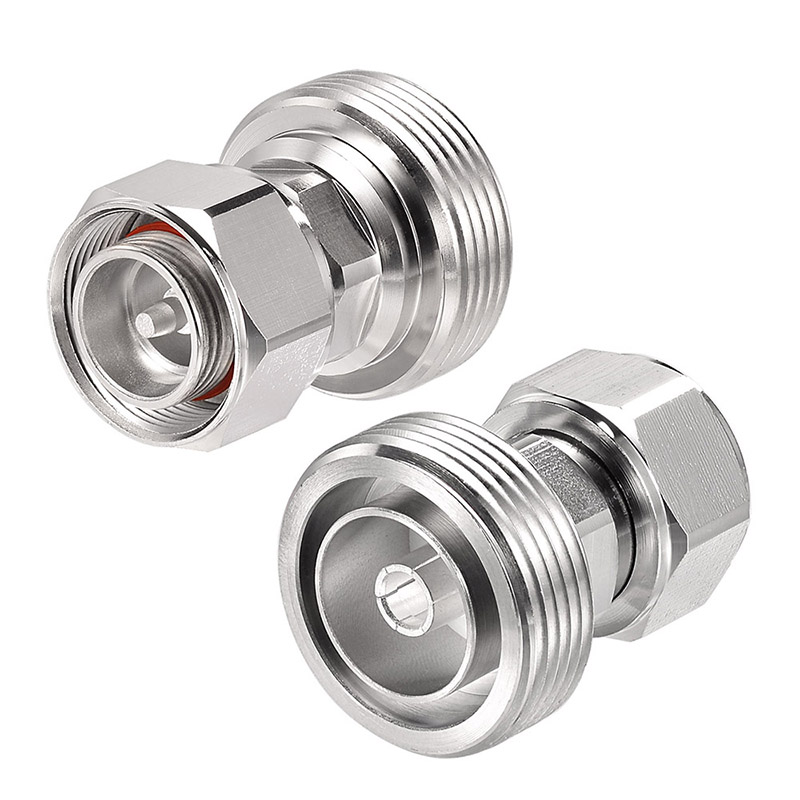
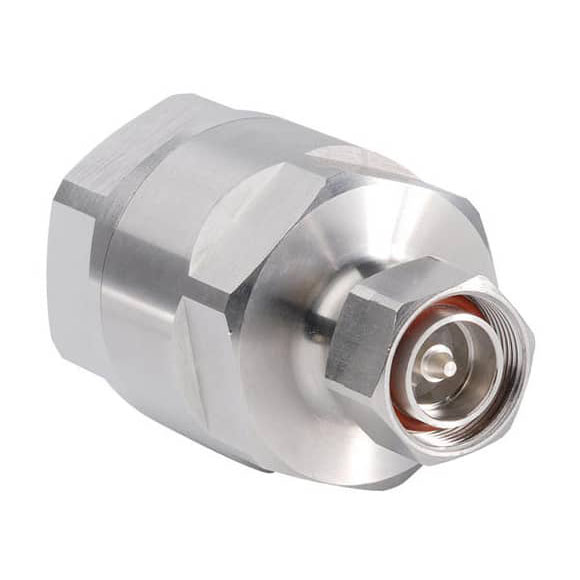
Model: TEL-4310MA.12S-RFC
Description
4.3-10 Male Right Angle connector for 1/2″ Superflexible cable
| Material and Plating | |
| Center contact | Brass / Silver Plating |
| Insulator | PTFE |
| Body & Outer Conductor | Brass / alloy plated with tri-alloy |
| Gasket | Silicon Rubber |
| Electrical Characteristics | |
| Characteristics Impedance | 50 Ohm |
| Frequency Range | DC~6 GHz |
| Insulation Resistance | ≥5000MΩ |
| Dielectric Strength | ≥2500 V rms |
| Center contact resistance | ≤1.0mΩ |
| Outer contact resistance | ≤1.0 mΩ |
| Insertion Loss | ≤0.15dB |
| VSWR | ≤1.15@3.0GHz |
| Temperature range | -40~85℃ |
| Waterproof | IP67 |
Installation Instructions of N or 7 / 16 or 4310 1 / 2″ super flexible cable
Structure of connector: ( Fig1 )
A. front nut
B. back nut
C. gasket
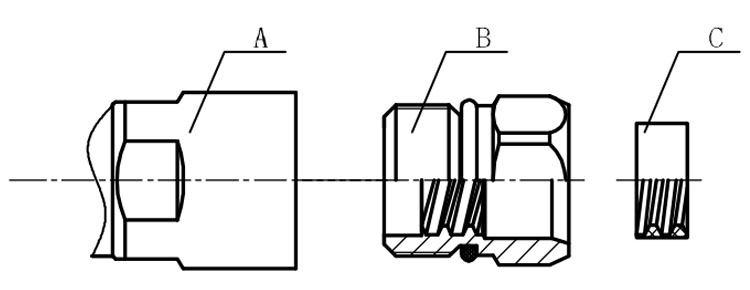
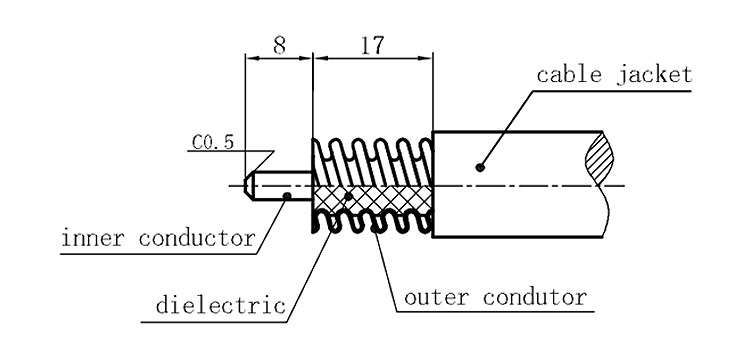
Stripping dimensions is as shown by diagram ( Fig2 ), attention should be paid while stripping:
1. The end surface of inner conductor should be chamfered.
2. Remove impurities such as copper scale and burr on the end surface of the cable.
Assembling the sealing part: Screw the sealing part in along the outer conductor of the cable as shown by the diagram ( Fig3).
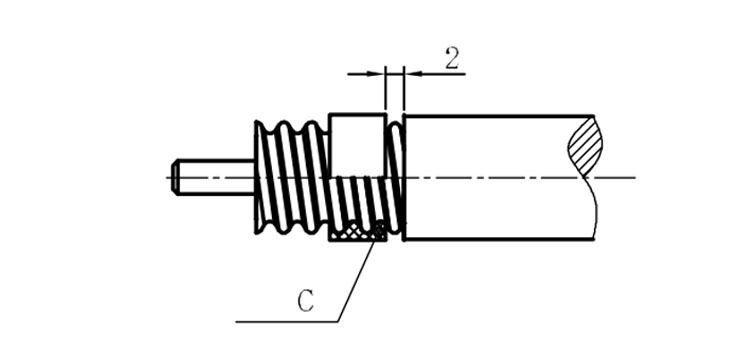
Assembling the back nut (Fig3).
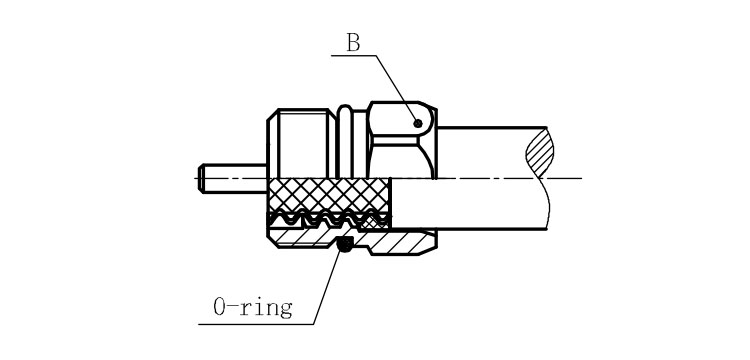
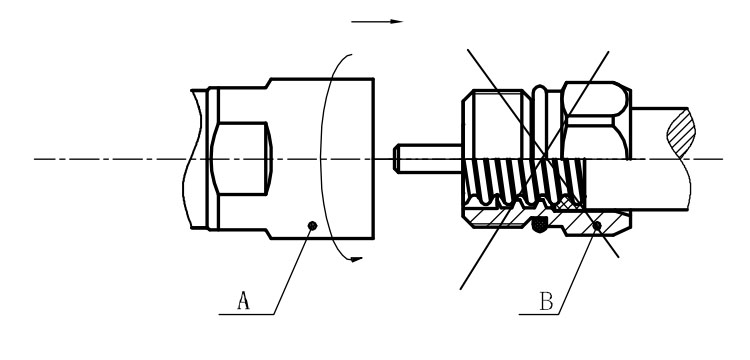
Combine the front and back nut by screwing as shown by diagram ( Figs( 5)
1. Before screwing, smear a layer of lubricating grease on the o-ring.
2. Keep the back nut and the cable motionless, Screw on main shell body on back shell body. Screw down main shell body of back shell body using monkey wrench. Assembling is finished.
